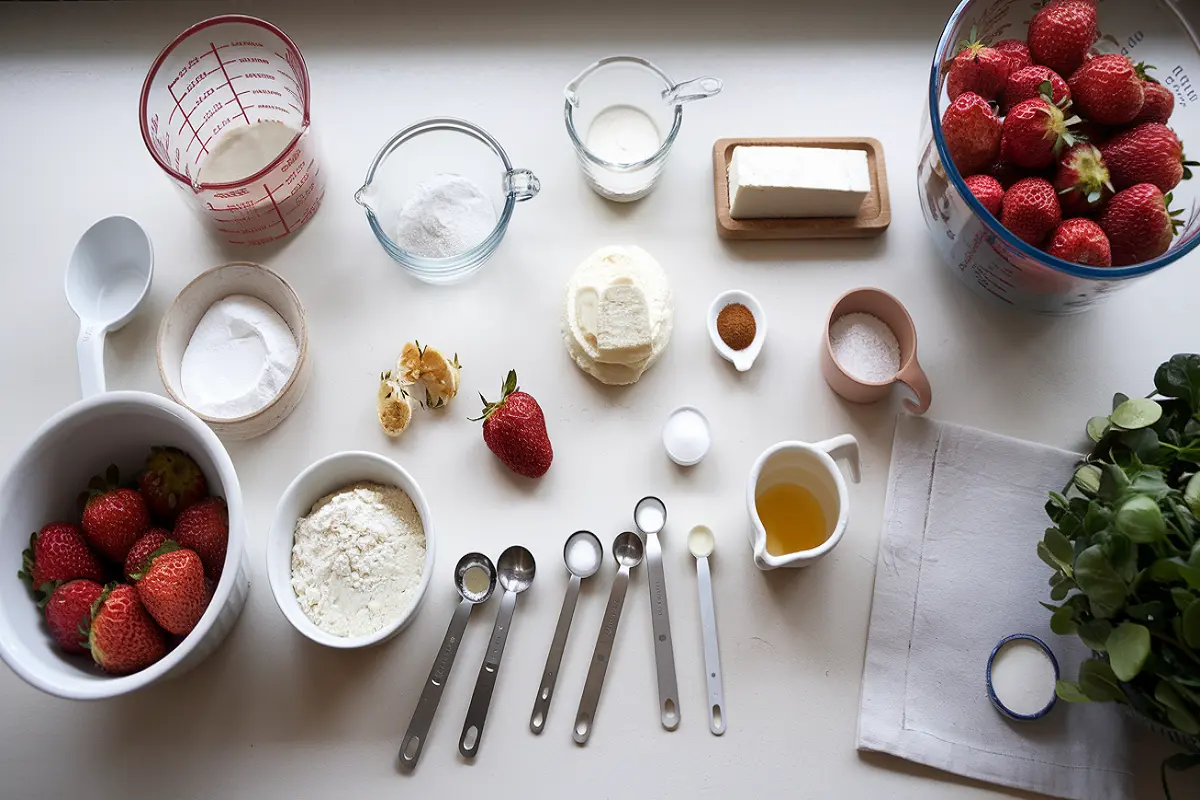
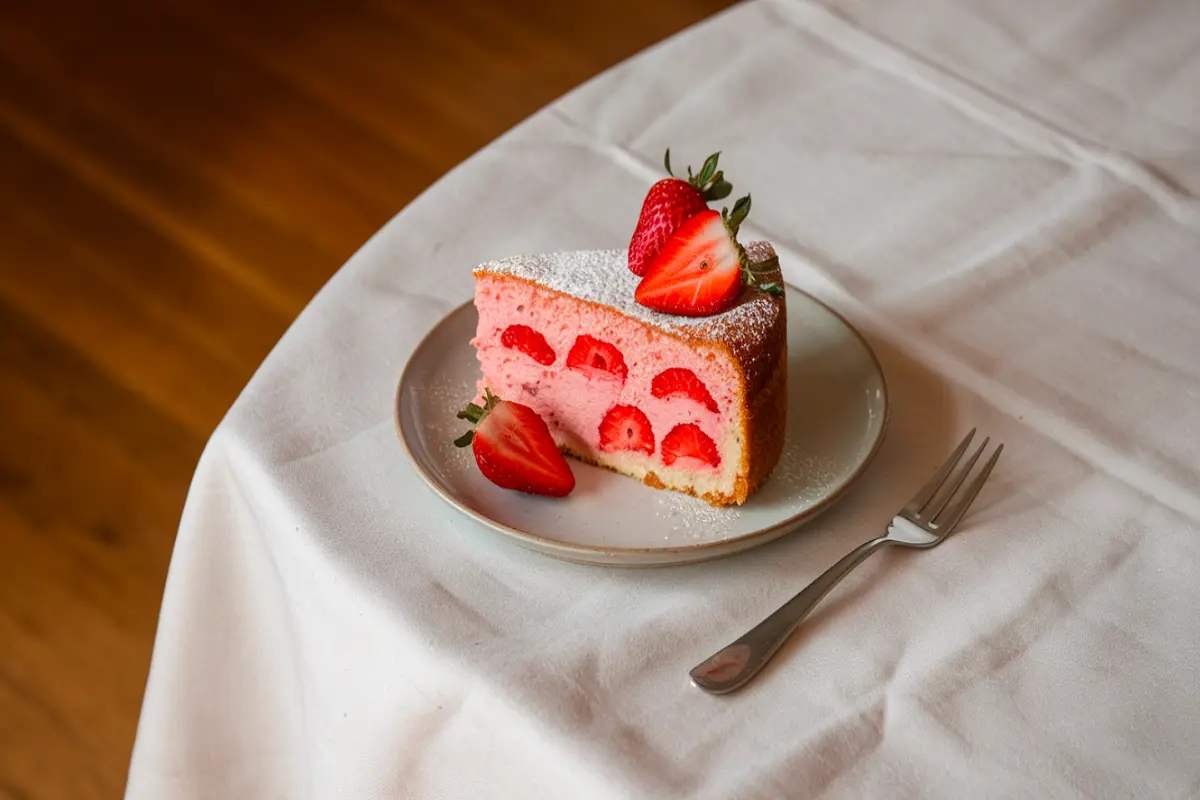
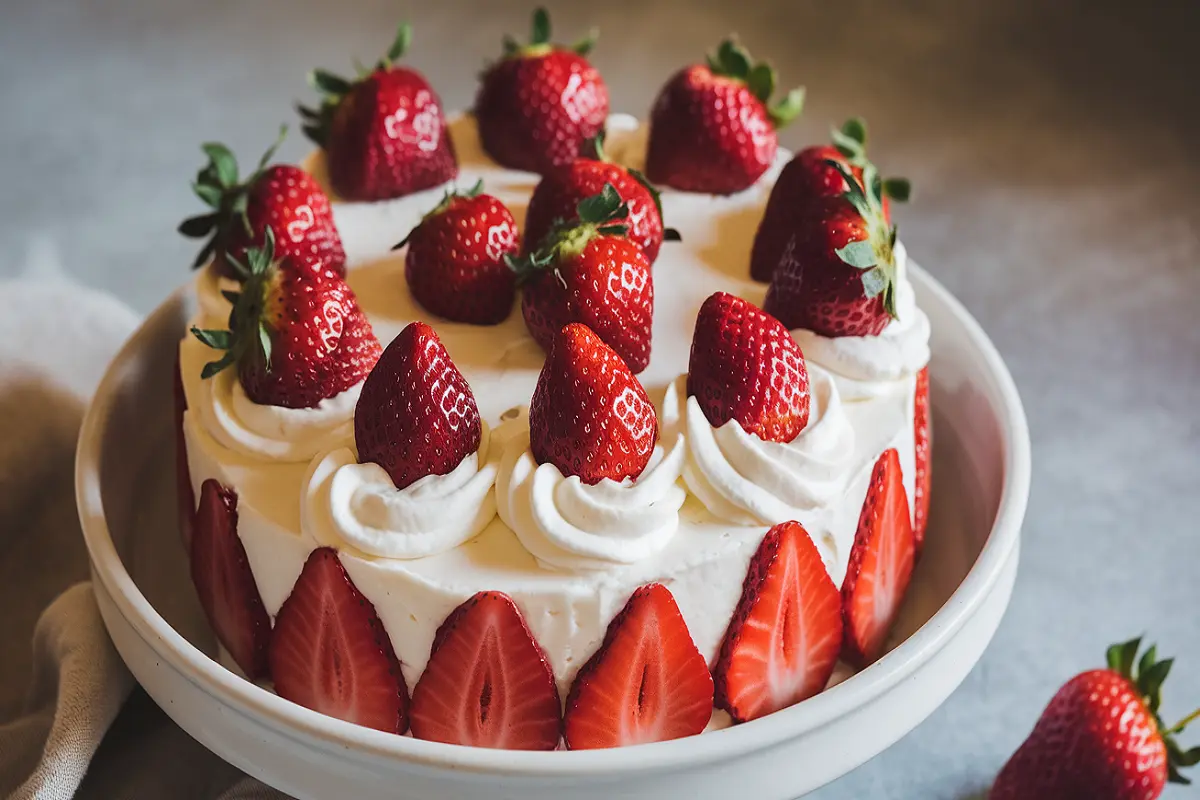
There’s something about the fresh sweetness of strawberries that makes them the perfect fruit for desserts. A gluten-free strawberry cake is a delightful, fruity dessert that you can serve at any occasion, whether it’s a birthday party, summer gathering, or simply a weekend treat. This cake is not only delicious but also safe for those who avoid gluten, making it a versatile option that everyone can enjoy. In this comprehensive guide, we’ll walk you through the process of making a gluten-free strawberry cake, ensuring that it’s flavorful, moist, and a hit with anyone who tries it. By the end, you’ll have all the knowledge you need to bake this cake like a pro.
Ingredients and Their Roles

Understanding the role of each ingredient in your gluten-free strawberry cake recipe is crucial to achieving the best results. We’ll also provide substitution ideas, so you can adjust the recipe to suit your preferences or what you have on hand.
1. Gluten-Free All-Purpose Flour (2 cups)
Gluten-free all-purpose flour is the foundation of this cake. It provides the structure and texture, allowing the cake to rise and hold its shape without gluten. Look for blends that include a combination of rice flour, tapioca flour, and potato starch for the best results.
- Substitution: You can use almond flour for a slightly denser texture or a mix of coconut and rice flours if you prefer. Ensure that your substitution flour blend is also gluten-free.
2. Xanthan Gum (1 teaspoon)
Xanthan gum acts as a binder and gives gluten-free baked goods elasticity, helping them mimic the texture of traditional wheat-based cakes. It prevents the cake from crumbling.
- Substitution: If your gluten-free flour blend already includes xanthan gum or guar gum, you can skip this ingredient. Alternatively, guar gum can be used as a 1:1 substitute.
3. Baking Powder (2 teaspoons)
Baking powder provides the leavening that helps the cake rise, ensuring it is light and fluffy.
- Substitution: You can use a gluten-free baking powder if you’re concerned about cross-contamination. Alternatively, you could use a mix of baking soda and cream of tartar (1/4 teaspoon of baking soda with 1/2 teaspoon of cream of tartar for each teaspoon of baking powder).
4. Baking Soda (½ teaspoon)
Baking soda also contributes to the leavening process and reacts with acidic ingredients in the batter, like the strawberries and lemon juice, to help the cake rise.
- Substitution: If you don’t have baking soda, you can use additional baking powder (3/4 teaspoon for every 1/2 teaspoon of baking soda). However, the results may differ slightly.
5. Salt (¼ teaspoon)
Salt balances the sweetness of the cake and enhances the flavor of the strawberries and other ingredients.
- Substitution: You can use sea salt or pink Himalayan salt as alternatives, though the amount should remain the same.
6. Unsalted Butter (½ cup, softened)
Butter adds richness and moisture to the cake, contributing to its tender crumb. Its fat content helps create a melt-in-your-mouth texture.
- Substitution: Dairy-free butter or coconut oil can be used if you need a dairy-free option. Just ensure the substitution is also softened to match the original consistency.
7. Granulated Sugar (1 cup)
Sugar provides sweetness to the cake, enhances the flavor of the strawberries, and contributes to the cake’s texture by caramelizing during baking.
- Substitution: You can use coconut sugar for a deeper flavor, though it may darken the color of the cake. Alternatively, you can use a blend of stevia or monk fruit for a lower-calorie version, but this might slightly alter the texture.
8. Eggs (2 large)
Eggs add structure, moisture, and richness to the cake. They help bind the ingredients together and aid in leavening.
- Substitution: For an egg-free version, use flaxseed eggs (1 tablespoon of ground flaxseed mixed with 3 tablespoons of water per egg) or a commercial egg replacer.
9. Vanilla Extract (1 teaspoon)
Vanilla extract adds a warm, aromatic flavor that complements the strawberries and enhances the overall taste of the cake.
- Substitution: Almond extract can be used for a different flavor profile, or you can use vanilla bean paste for a richer, more pronounced vanilla flavor.
10. Lemon Juice (1 tablespoon)
Lemon juice adds brightness and acidity, which balances the sweetness of the strawberries and enhances their natural flavor.
- Substitution: Lime juice or orange juice can be used if you prefer a different citrus note. Apple cider vinegar can also be substituted, though it may slightly alter the flavor.
11. Fresh Strawberries (1 ½ cups, chopped)
Fresh strawberries are the star of the cake. Their natural sweetness and juicy texture make the cake moist and flavorful, with bursts of strawberry flavor in every bite.
- Substitution: You can use frozen strawberries, but make sure to thaw and drain them before using to prevent excess moisture in the cake. Alternatively, raspberries or blueberries could provide a different berry flavor.
12. Buttermilk (¾ cup)
Buttermilk adds a subtle tanginess to the cake, which pairs beautifully with the sweetness of the strawberries. Its acidity also helps to activate the baking soda, contributing to the cake’s rise.
- Substitution: If you don’t have buttermilk, you can make your own by adding 1 tablespoon of lemon juice or vinegar to ¾ cup of dairy-free milk (or regular milk), letting it sit for a few minutes to curdle.
Step-by-Step Guide to Preparing Gluten-Free Strawberry Cake
Now that we have a firm understanding of the ingredients and their roles, let’s move on to the preparation process. Here’s a detailed step-by-step guide for making a perfect gluten-free strawberry cake.
Step 1: Preheat Your Oven
Preheat your oven to 350°F (175°C). Prepare a 9-inch round cake pan by greasing it with butter or non-stick spray, and then line the bottom with parchment paper. This prevents sticking and ensures easy removal from the pan after baking.
Step 2: Prepare the Strawberries
Wash the strawberries thoroughly, then hull and chop them into small pieces. Pat them dry with paper towels to remove excess moisture, which can affect the texture of the cake.
- Tip: Reserve a few whole strawberries to use as a garnish for the cake if desired.
Step 3: Mix the Dry Ingredients
In a medium bowl, whisk together the gluten-free all-purpose flour, xanthan gum, baking powder, baking soda, and salt. Make sure these dry ingredients are evenly distributed to ensure the cake rises properly and has a uniform texture.
Step 4: Cream the Butter and Sugar
In a large mixing bowl, cream the softened unsalted butter and granulated sugar together using an electric mixer or stand mixer. Beat on medium speed for 3-5 minutes, until the mixture becomes light and fluffy. This process helps incorporate air into the batter, resulting in a lighter cake.
Step 5: Add the Eggs and Vanilla Extract
Add the eggs one at a time, beating well after each addition. Follow with the vanilla extract and beat until well combined. The batter should be smooth and slightly glossy at this point.
Step 6: Combine the Wet and Dry Ingredients
Gradually add the dry ingredients to the wet mixture in three parts, alternating with the buttermilk. Start and end with the dry ingredients. Mix on low speed until just combined after each addition to avoid overmixing.
- Tip: Overmixing can cause the cake to become dense or tough, so stop mixing as soon as the ingredients are fully incorporated.
Step 7: Fold in the Strawberries
Gently fold the chopped strawberries into the batter using a spatula. Be careful not to overmix, as you want the strawberries to remain evenly distributed throughout the cake without breaking down too much.
Step 8: Transfer to Cake Pan
Pour the batter into the prepared cake pan and smooth the top with a spatula. Tap the pan gently on the counter to remove any air bubbles.
Step 9: Bake the Cake
Place the cake in the preheated oven and bake for 35-40 minutes, or until a toothpick inserted into the center comes out clean. The top of the cake should be golden brown, and the edges should start to pull away from the sides of the pan.
- Tip: If the cake begins to brown too quickly, cover it loosely with aluminum foil to prevent over-browning.
Step 10: Cool and Serve
Allow the cake to cool in the pan for 10-15 minutes before transferring it to a wire rack to cool completely. Once cool, you can frost the cake with your favorite gluten-free frosting or dust it with powdered sugar. Garnish with reserved strawberries for an elegant touch.
Tips and Tricks for Perfecting Gluten-Free Strawberry Cake

Here are some additional tips and tricks to ensure your gluten-free strawberry cake turns out perfectly every time:
1. Measure Ingredients Accurately
When baking gluten-free, precision is key. Use a kitchen scale to measure ingredients like flour for the most accurate results. Too much or too little flour can significantly affect the texture of your cake.
2. Don’t Skip the Xanthan Gum
Xanthan gum is essential for binding the ingredients in gluten-free baking. Without it, the cake may crumble or fall apart after baking. Make sure your flour blend includes it or add it separately.
3. Keep the Strawberries Dry
Excess moisture from the strawberries can make the cake soggy. Be sure to pat the strawberries dry thoroughly before folding them into the batter.
4. Use Fresh Ingredients
Fresh strawberries and fresh buttermilk will always yield the best flavor. Frozen or out-of-season strawberries can be watery or bland, affecting the overall taste of the cake.
5. Let the Cake Cool Completely
Allowing the cake to cool fully before frosting or slicing helps it set properly. Cutting into a warm cake can cause it to crumble or fall apart.
Pairing Suggestions for Gluten-Free Strawberry Cake
This delightful gluten-free strawberry cake pairs beautifully with various accompaniments. Here are a few suggestions to elevate your dessert:
1. Whipped Cream
A dollop of freshly whipped cream adds a light, airy contrast to the rich cake. You can sweeten it with a bit of powdered sugar and vanilla for extra flavor.
2. Fresh Berries
Serve the cake with a side of fresh berries, like blueberries or raspberries, for an additional burst of flavor and color.
3. Lemon Curd
The tanginess of lemon curd pairs wonderfully with the sweet strawberries. Spread a thin layer between cake layers or serve on the side.
4. Vanilla Ice Cream
A scoop of creamy vanilla ice cream is a classic pairing that adds richness and enhances the fruity flavor of the cake.
Frequently Asked Questions (FAQs)
1. Can I make this cake dairy-free as well as gluten-free?
Yes, you can substitute the butter with dairy-free margarine or coconut oil, and replace the buttermilk with a non-dairy milk (like almond or soy milk) mixed with lemon juice or vinegar.
2. How do I store gluten-free strawberry cake?
Store the cake in an airtight container at room temperature for up to 2 days, or refrigerate it for up to 5 days. You can also freeze the cake for up to 3 months.
3. Can I use frozen strawberries?
Yes, you can use frozen strawberries, but make sure to thaw and drain them before adding them to the batter to prevent excess moisture.
4. Why is my gluten-free cake dense?
Overmixing the batter or using too much flour can lead to a dense cake. Make sure to measure your ingredients accurately and mix the batter just until combined.
5. Can I bake this cake in a different pan?
Yes, you can bake this cake in a different pan, such as a square or rectangular pan, but you may need to adjust the baking time. Keep an eye on the cake and test for doneness with a toothpick.
Conclusion
A gluten-free strawberry cake is a delicious and versatile dessert that everyone can enjoy, regardless of dietary restrictions. By following this detailed recipe and incorporating the tips and tricks provided, you’ll be able to create a cake that is moist, flavorful, and bursting with fresh strawberry goodness. Whether you’re serving it for a special occasion or a simple family dessert, this cake is sure to impress. Enjoy the comfort and versatility of this gluten-free treat, and feel free to experiment with different flavor combinations to make it your own.

